Snapdragon™ BatteryGuru is a battery life saver app that extends battery performance and improves overall user experience by intelligently making changes that optimize device functionality in phones with Snapdragon mobile processors. This app:
• Delivers longer battery life with fewer charges, acting as a battery life extender
• Intelligently learns how you use your Snapdragon-powered smartphone and optimizes your device without disabling smartphone functionality
• Requires no user configuration - Snapdragon BatteryGuru automatically learns and adjusts the smartphone settings so you don’t have to
.webp)
.webp)
• Delivers longer battery life with fewer charges, acting as a battery life extender
• Intelligently learns how you use your Snapdragon-powered smartphone and optimizes your device without disabling smartphone functionality
• Requires no user configuration - Snapdragon BatteryGuru automatically learns and adjusts the smartphone settings so you don’t have to
After a brief 2-4 day introduction period, Snapdragon BatteryGuru learns the user’s behaviors and then notifies the user that it is ready to extend the battery life and improve the experience. Snapdragon BatteryGuru continues to operate in the background, deepening its understanding of the user and further optimizing the experience over time.
Download
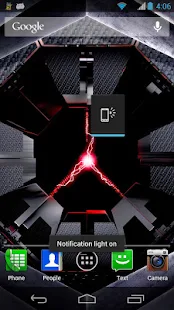
Screenshots


.webp)